Getting Started With Your Frame
Building a raised bed isn't complicated. You don't need special skills or fancy tools — just some decent wood, basic measurements, and an afternoon. Our content is designed to help people do this, and most find it's easier than they expected.
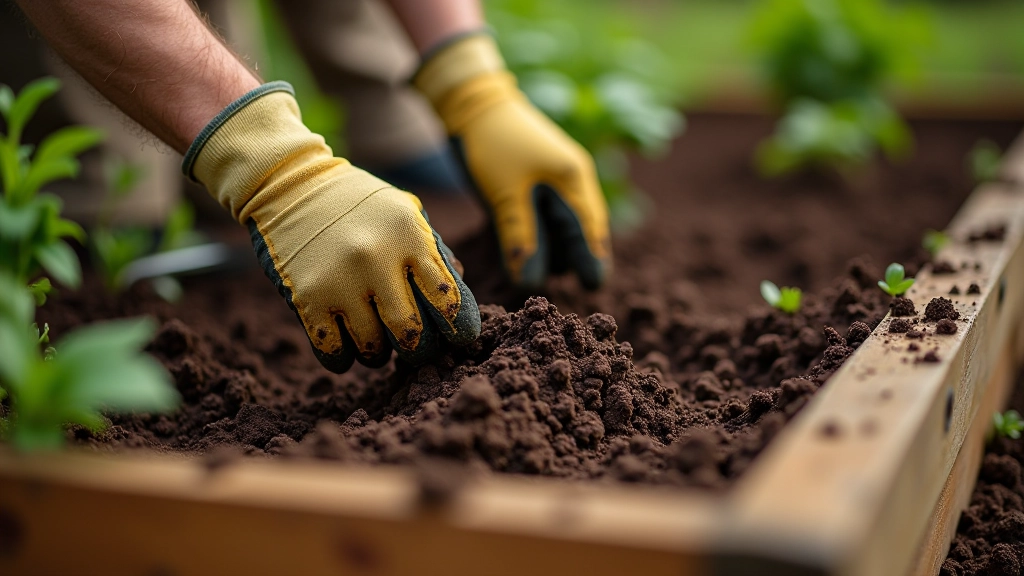
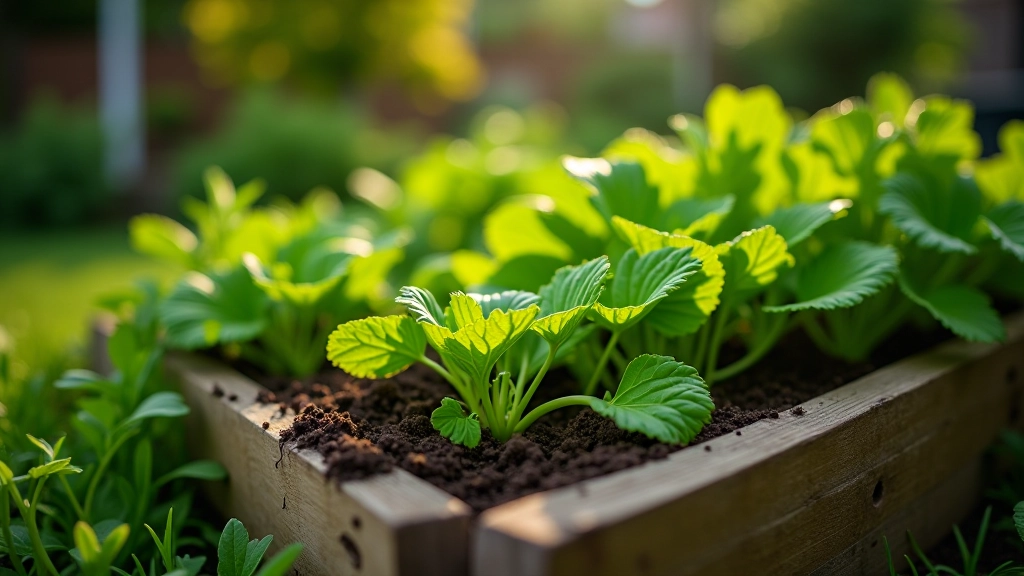
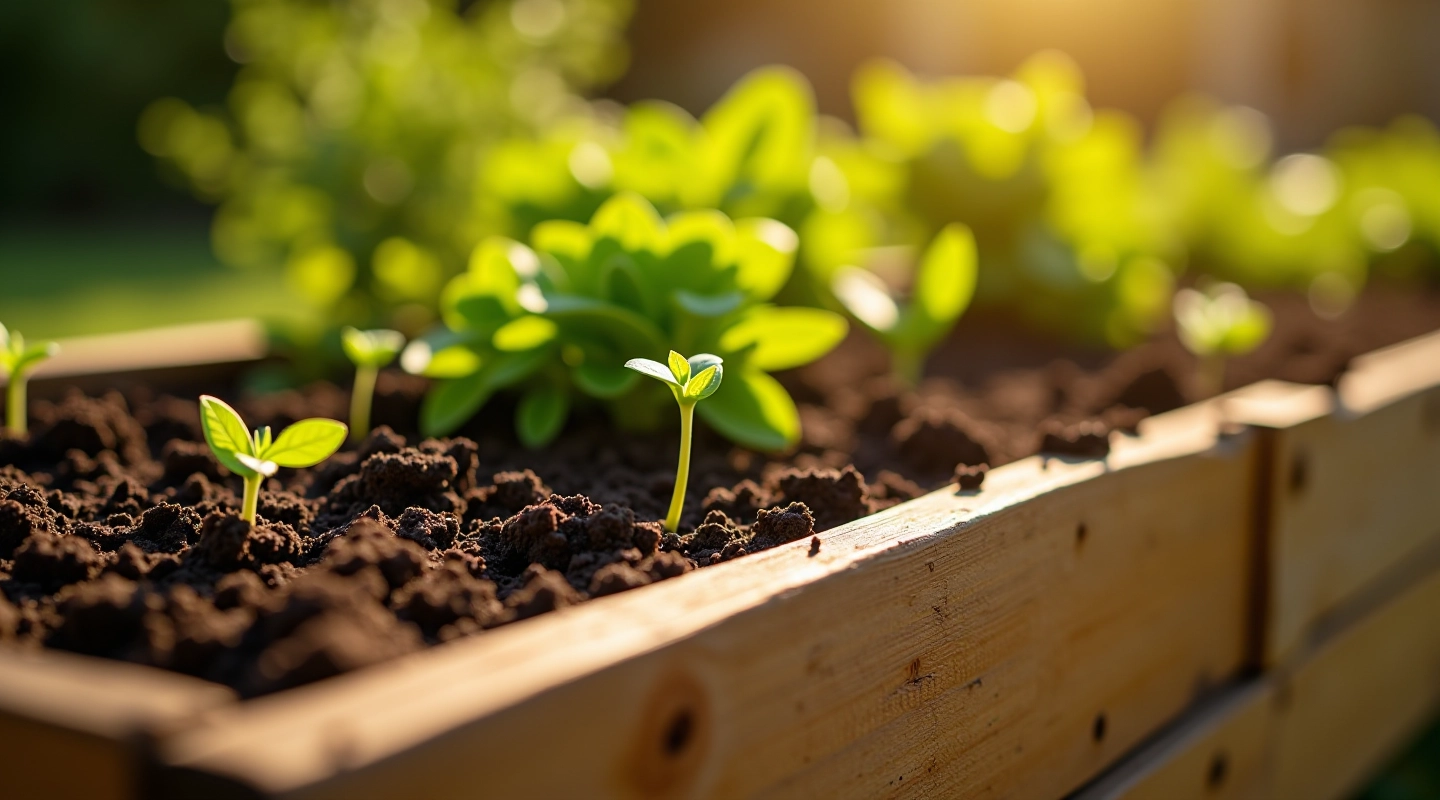
The frame is the foundation of everything. Get this right, and you'll have a solid structure that'll hold soil and plants for 5-7 years. Most people choose untreated wood — cedar, larch, or redwood work best. Pressure-treated timber is cheaper, but you're adding chemicals near your vegetables, which isn't ideal if you're growing organic.
Standard dimensions are 4ft by 8ft, but you can adapt based on your space. A 4x8 frame holds roughly 32 cubic feet of soil and works well for a family vegetable garden.
Choosing Your Materials
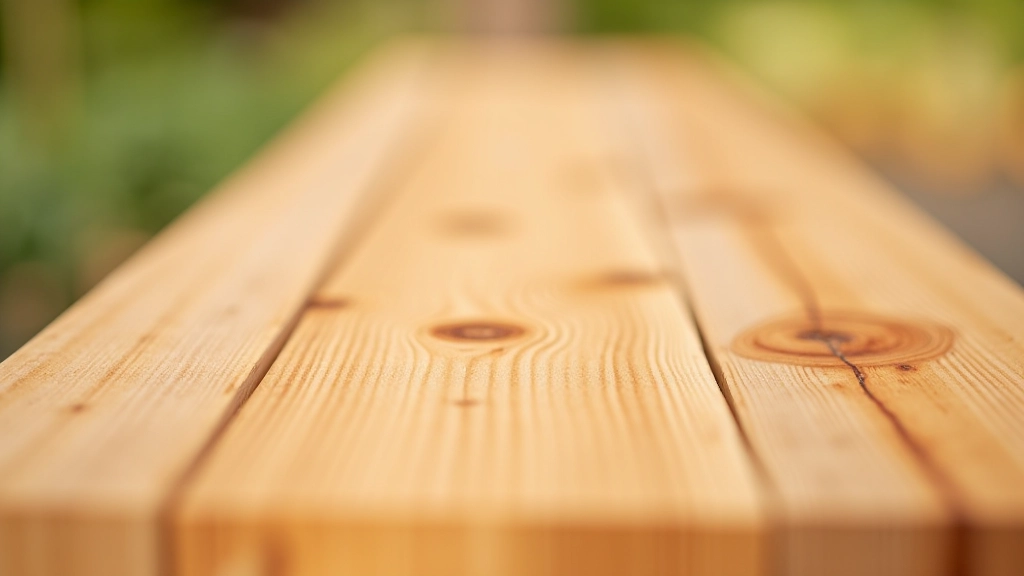
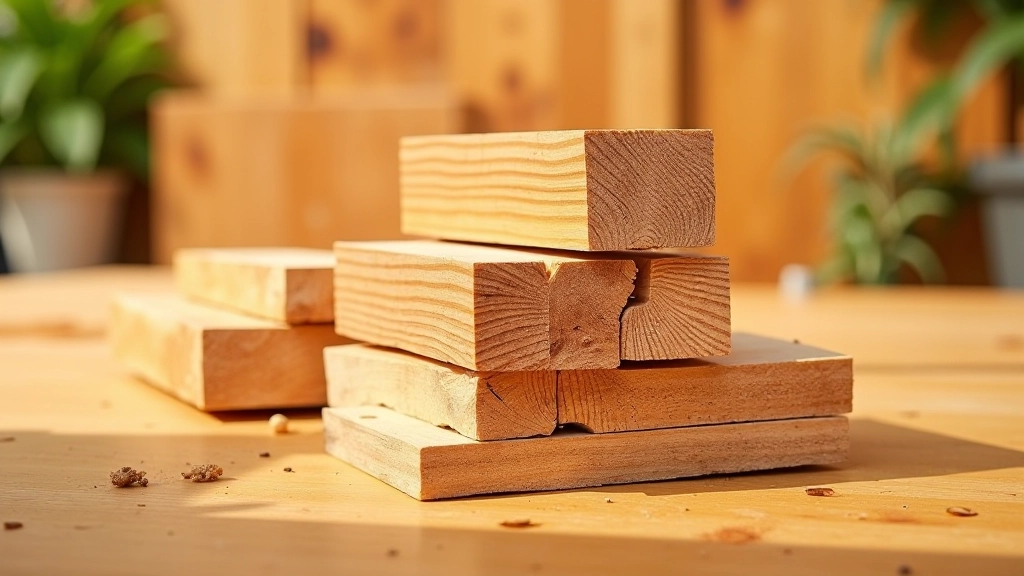
Wood selection matters more than people realize. Cedar's your best bet — it's naturally rot-resistant and lasts 7-10 years without treatment. It's pricier than softwood, but you'll appreciate it in year three when other frames are showing damage.
For a standard 4x8 frame, you'll need four boards. Most people use 2x10 or 2x12 lumber — that's 10 or 12 inches deep, which gives plants plenty of root space. You'll also want corner brackets or galvanized screws to hold everything together. Avoid nails. They work initially, but the frame shifts over time and nails loosen.
Pro tip: Ask the timber merchant for boards that aren't kiln-dried. Fresh-cut wood's easier to work with and cheaper. It'll dry naturally in your garden over a few weeks.
Important Note
This guide provides educational information about building raised bed frames. While we've covered standard construction methods, specific building requirements may vary by location. If you're uncertain about any aspect of construction, consult with a local carpenter or building professional. Always wear appropriate safety equipment when cutting and assembling materials.
Cutting and Assembly Process
Here's where it gets practical. You'll need a basic handsaw or circular saw. Most timber merchants will cut your boards to length for a small fee — that's worth paying if you don't have power tools. For a 4x8 frame, you need two 8-foot pieces and two 4-foot pieces.
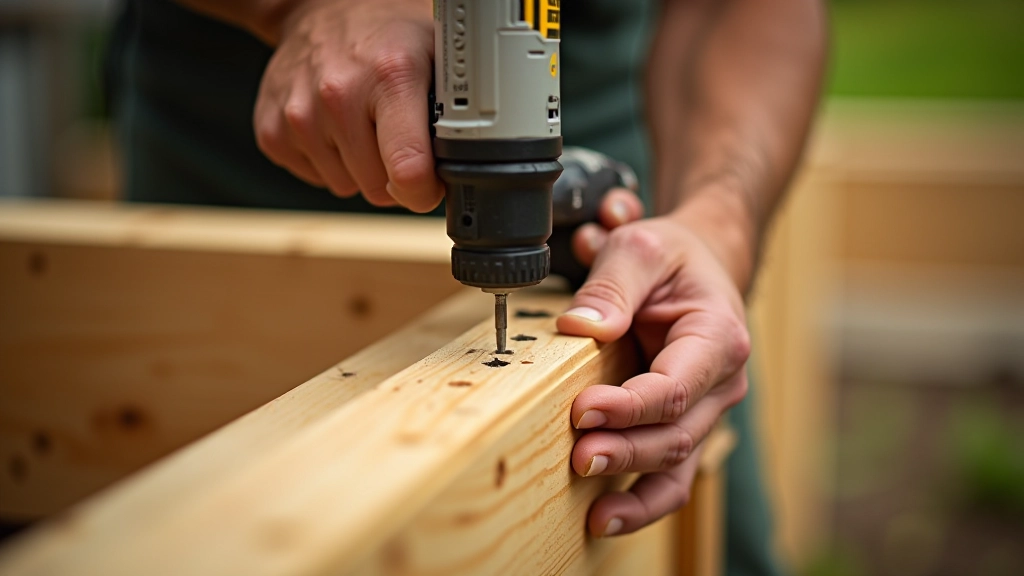
Layout's straightforward. Lay the boards in a rectangle on flat ground. Use a square to check the corners are actually square — not diagonal. Then attach the corners. Galvanized screws work best. Use 3-inch exterior-grade screws, two or three per corner. Drill pilot holes first to prevent splitting, especially with cedar.
It takes about an hour total. Don't rush it. Tighten as you go, and you'll have a frame that's square and sturdy.
Leveling and Positioning
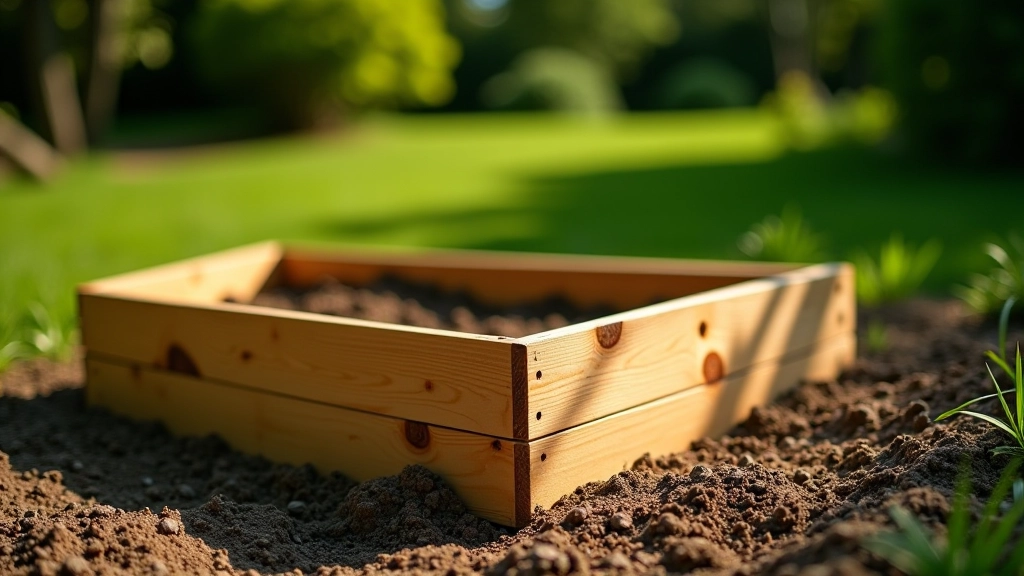
Once your frame's assembled, position it where you want it permanently. This matters. A raised bed's heavy once filled with soil — moving it isn't fun. Choose a spot with at least 6-8 hours of direct sunlight. That's the minimum for most vegetables.
Level's important too. Use a spirit level to check. Slight slopes are fine, but if one corner's significantly lower, water pools and soil compacts unevenly. You can adjust by adding soil underneath or leveling the ground before positioning.
Many people add a landscape fabric base to prevent weeds pushing up through the bottom. Not essential, but it saves work later. Staple it to the inside of the frame.
You're Ready to Grow
That's it. You've got a solid frame that'll serve you well. The next step is filling it with quality soil and choosing what to plant. A good soil mix makes all the difference — we've got a detailed guide on that if you need it.
Most people are surprised how quickly they see results. Vegetables grow faster in raised beds because the soil's warmer and richer. By August, you'll be harvesting tomatoes and lettuce you grew yourself. It's genuinely worth the effort.